Video Tutorial to create a new RMA Repair Service.
Creating New RMA Service
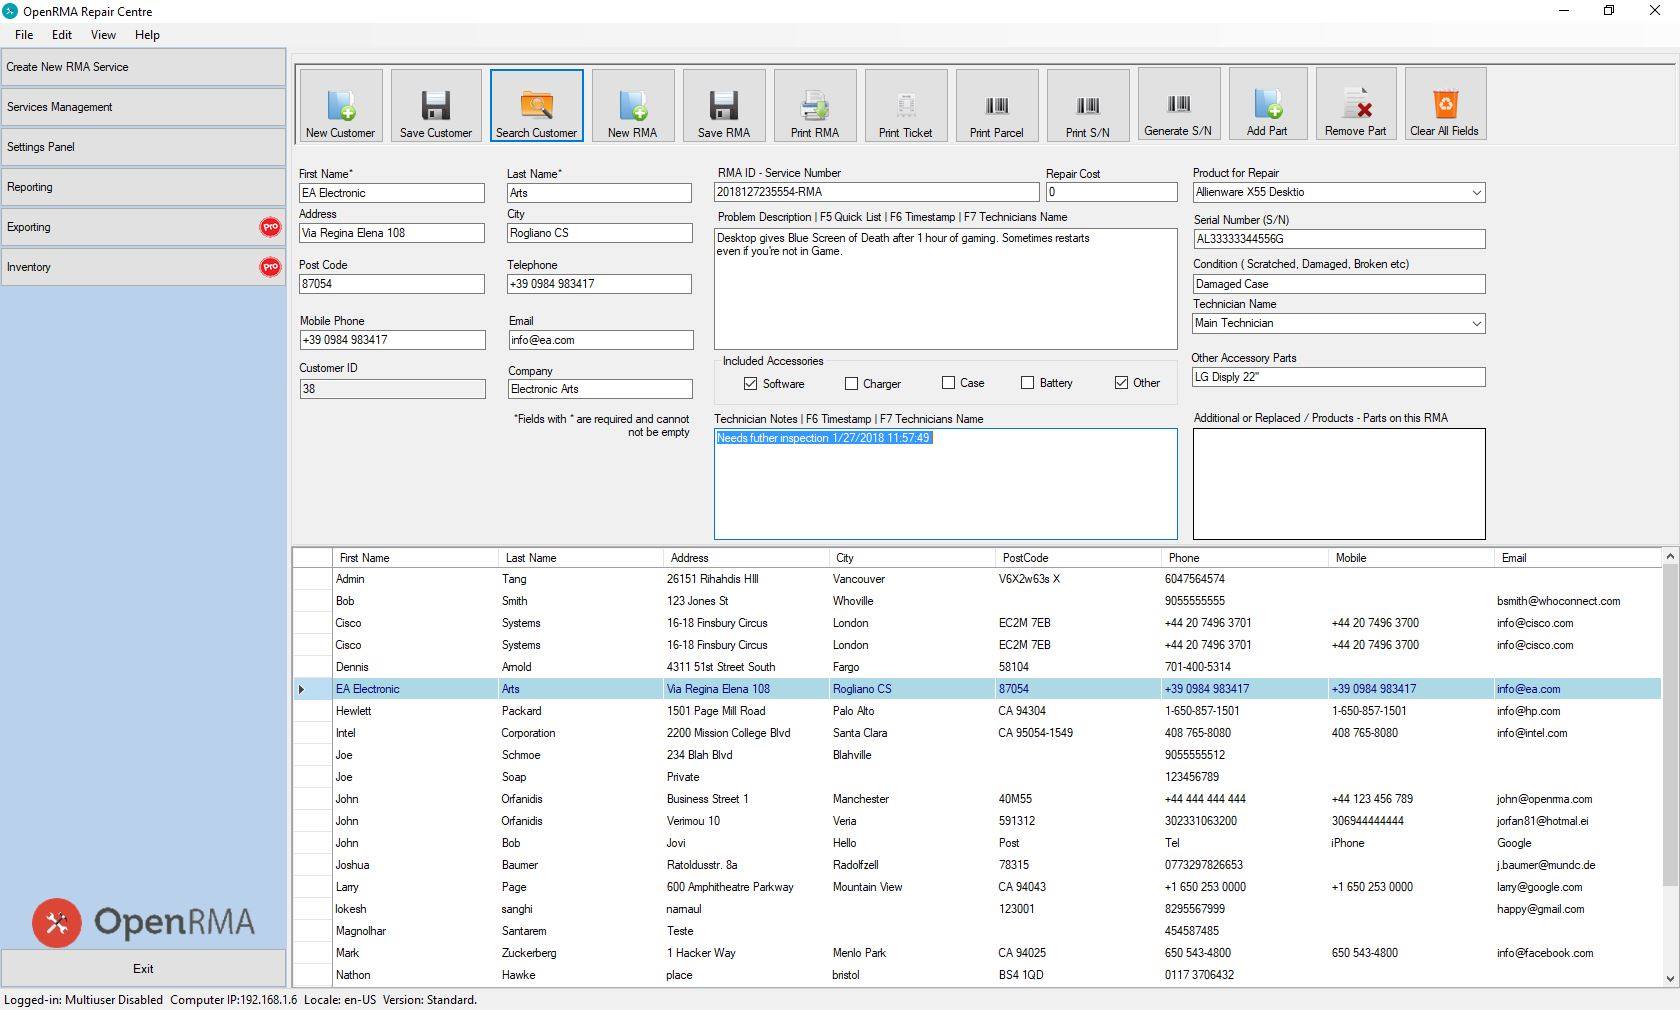
To create a new RMA Service, first you must fill the customer details on the Main Screen.
First Name and Last Name are the minimum required fields that you have to enter in order to save the new client.
When you are done with all the customer details, press the Save customer Button.
Next step is to fill the RMA Service Information (Product type, Condition, Accessories, Problem Description and so on.)
When you are done with the Service Details Press the Save RMA button.

Now the new RMA Service have created and saved into the database.
That was the process of creating a new RMA service.
Now for adding additional Technician notes later when a technician starts to repair this service, you may press the Services Tracking button on the left. The RMA Services Management form open and you can search for a particular service based on RMA ID, telephone, Serial number and/or customer name.
When you find you service double click it from the list on the bottom and all the fields will populate with the service details, so you can modified as needed.
When you are done with this Repairing you can check the RMA Finished checkbox so you can filter your results later.
